Ever since I really got into working out my biggest problem is finding the right clothes to work out in. The material for regular T-shirts is to hot to work out in and I refuse to pay 40 bucks for a tank top made of some crazy material that removes sweat. So I was ecstatic when I found this project.
Here are the original instructions: http://www.blogilates.com/blog/2012/04/05/diy-racerback-workout-shirt-tutorial/
Materials needed for this project are:
An old T-shirt
Scissors
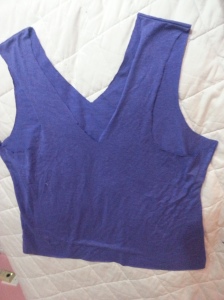
This project starts like every other T-shirt DIY. I cut off the sleeves and collar of the shirt by following its seams. But for this shirt I had to cut the front of the collar a little deeper than the back of the collar. This is important if you want to get the proper racerback effect. After all the cutting I had this.
After this I flipped the shirt over and cut the racerback shape into it. I did this by cutting a deep v into the back and cutting down the outer part of the sleeve. I start my cut shallow then get deep to get the look I want. This was the result.
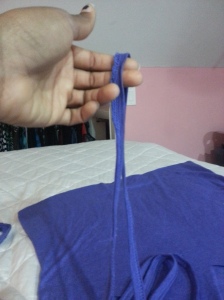
The back part of the straps should be thinner than the front. After that was done I took the cut off hem of the shirt and stretched it out.
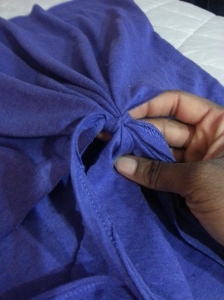
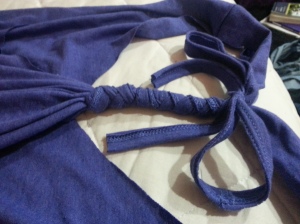
I took the stretched shirt hem and tied it at the bottom of the V in the back of the shirt
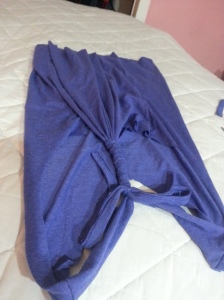
I then wrapped it up the shirt criss crossing the tied hem. I did this till I reached the top opening of the shirt. I had left over hem when I reached the top so I tied it into a bow. The end result was this.
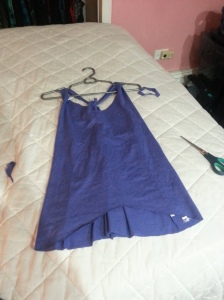
Here is the final product of the project
Not to bad for a free shirt! I still might save up for a store bought one but this will do for now.
Overall this project was fairly easy and fast. The results may not be as perfect but it definitely passes the DIY test.

